
Where to find meta pixel?
Learn how to find, create, and install Meta Pixel to enhance your website's ad performance and user tracking capabilities.
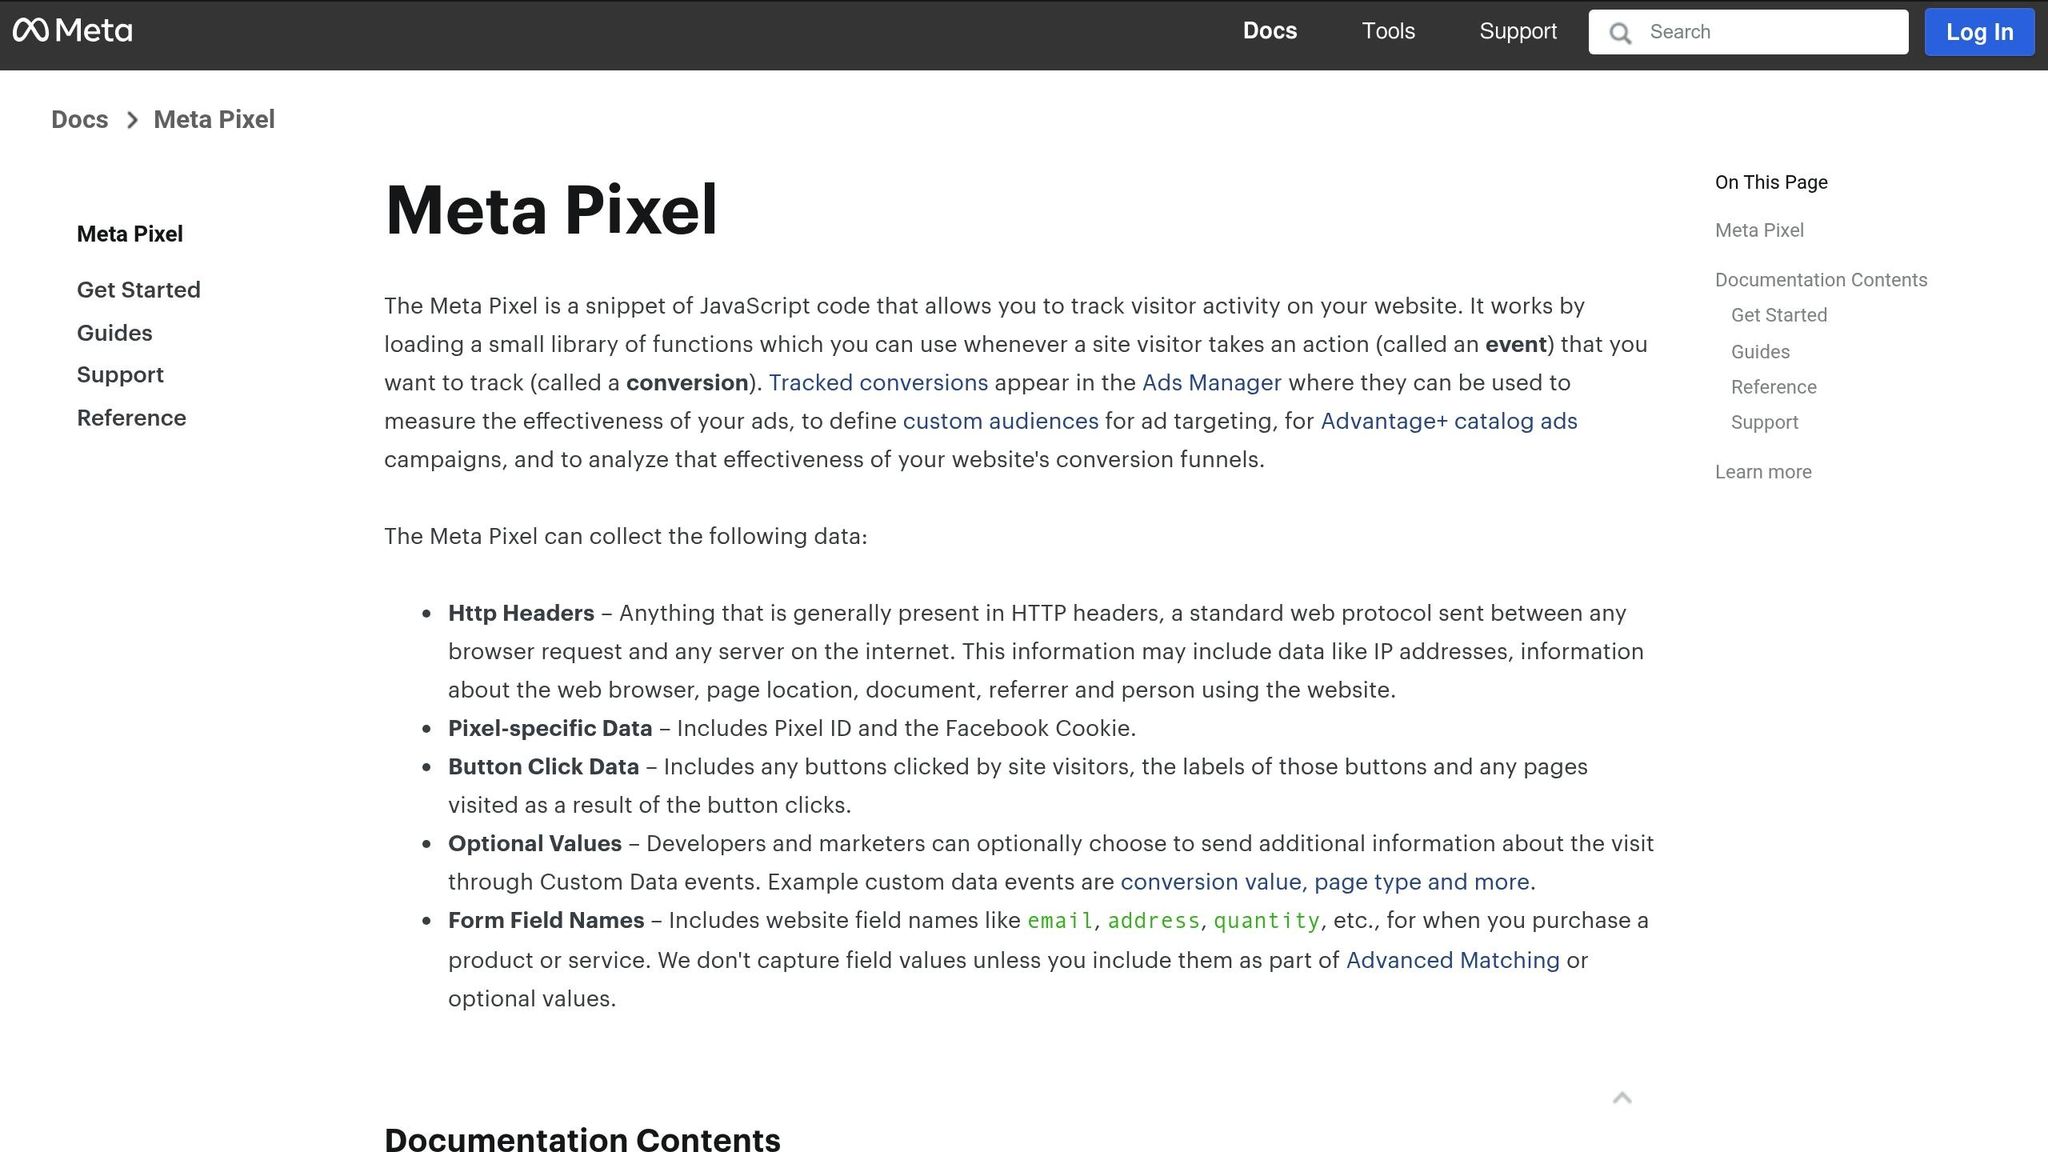
Meta Pixel is a small JavaScript code that tracks user interactions on your website, helping improve ad targeting and campaign performance. Here’s a quick guide to finding and setting it up:
Locate Meta Pixel: Log in to Business Manager, go to Data Sources > Pixels in Events Manager, and find your Pixel ID.
Install the Code: Add the base code above the
</head>tag on your website or use integrations like Shopify.Verify Setup: Use the Meta Pixel Helper Chrome extension to ensure proper installation.
Track Events: Set up key events like 'Purchase,' 'Add to Cart,' and 'View Content' for better tracking.
Follow these steps to leverage Meta Pixel for better ad performance and user insights.
How to Create & Install a Meta/Facebook Pixel in 2024
Finding Meta Pixel in Business Tools
Finding your Meta Pixel in Business Manager is simple if you know the steps.
Opening Events Manager
Here’s how you can locate your Meta Pixel:
Log in to your Business Manager account.
Go to Data Sources.
Select Pixels. Understanding how pixel data powers conversions is key to optimizing your ads.
Locating Your Pixel ID
Inside Events Manager, head to the Pixels tab. Here, you'll see all the active pixels linked to your account. Copy the Pixel ID and provide it to your developer for installing the pixel code.
After this, follow the Setup Guide to create and install your pixel code, or troubleshoot common pixel issues if you encounter errors.
Meta Pixel Setup Guide
Once you have your Pixel ID, follow these steps to create and install your pixel:
Creating a New Pixel
In Business Manager, open Events Manager from the All Tools menu.
Click Connect Data Sources, choose Web, name your pixel, input your website URL, and click Check, then Next.
Select Do it yourself > Meta Pixel only, and choose Install code manually.
Installing Pixel Code
Choose one of these installation methods:
Manual Installation
Copy the base code from Events Manager.
Paste the code directly above the
</head>tag on your website.Turn on Advanced Matching for better tracking.
Use the Pixel Helper tool to verify the installation.
Shopify Integration
In your Shopify admin, navigate to Settings > Apps & sales channels > Facebook.
Open the Data sharing section.
Enable the toggle and select your pixel.
Developer Assistance
In Events Manager, select your pixel and click Continue setup > Email Instructions.
Enter your developer’s email address and send the setup details.
After installation, head to the Setup Best Practices section to confirm and fine-tune your tracking.
Setup Best Practices
Once your pixel is installed and configured, follow these steps to confirm it's working correctly and fine-tune your event tracking.
Testing Pixel Status
Use the Meta Pixel Helper Chrome extension to check your pixel's performance. Simply visit your pages, click the extension icon, and verify your Pixel ID, automatic PageView events, and any custom events are firing as expected.
Event Tracking Setup
Set up these key events to track user actions effectively:
Event Type | When to Use | How to Verify |
|---|---|---|
Purchase | Order confirmation pages | Check that USD currency and value parameters are correctly recorded |
Add to Cart | Product pages | Test by adding items to your cart |
Lead | Form submission pages | Ensure tracking works across all lead forms |
View Content | Landing or product detail pages | Confirm it triggers automatically when the page loads |
Advanced Setup Tips
Turn on automatic advanced matching.
Focus on up to eight key events due to iOS 14 restrictions.
Use the Facebook Event Setup Tool to add or adjust events without needing to code.
Verify your domain in Events Manager before setting up custom events.
For custom events tailored to your business, follow these steps:
Access Events Manager: Open the Events Manager dashboard and select your pixel.
Set Up Custom Events: Use the Event Setup Tool to define unique actions you want to track.
Test Your Setup: Run test transactions and confirm the events appear correctly in Events Manager.
If tracking data isn't showing up, move on to troubleshooting common pixel or event issues.
Common Problems and Solutions
Pixel Not Showing Up
If your Meta Pixel isn't showing in Events Manager, here’s how to troubleshoot:
Use the Meta Pixel Helper: This tool helps verify if the pixel is firing and identifies any errors.
Check the Pixel Code Placement: Make sure the pixel code is in the
<head>section on every page. You can confirm this by viewing the page's source code.Disable Ad Blockers: Ad blockers can prevent the pixel from loading, so turn them off to test.
If the pixel is visible in Events Manager but isn’t tracking actions, move on to the next section.
Fixing Data Issues
When your Meta Pixel is visible but not logging events correctly, follow these steps:
Match Domains: Ensure your website's primary domain matches the one linked to your pixel in Business Manager.
Check for Errors in the Pixel Snippet: Compare the pixel code on your site with the one in Events Manager. Fix any typos or mismatches.
Remove Duplicate IDs: Make sure the pixel ID is present only once per page. If there are duplicates, remove the extras.
Summary
Now that your pixel is set up and verified, here's how to make the most of it:
Key Steps
Navigate to Meta Pixel in Events Manager via Business Manager: Data Sources > Pixels
Add the base code to your website pages, placing it just above the
</head>tagConfigure and verify standard events with the Meta Pixel Helper tool
What to Do Next
Test your pixel by triggering events on your site to ensure it's working properly
Use the Events Manager dashboard to monitor event data streams
Evaluate tracking performance and address any issues that arise
Following these steps will help your Meta Pixel deliver accurate tracking data for improving your campaigns. Regularly check its status and event settings to keep your data reliable.